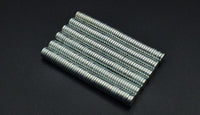
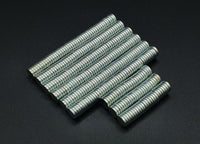
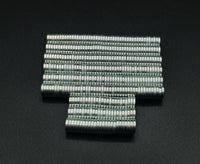
5mm x 1mm Neodymium N50 Strong Magnets
Magnetizing Tutorial
2x1mm magnet is an ideal magnet where you have the possibility to drill the figure.
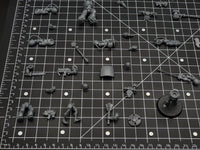
The thicker the magnet, the greater the attraction it has. In case of hands and weapons of marines and models of similar size (small models, infantry) 2x1mm magnet is very strong but also 1x1 may be sufficient.
Always choose magnets that are strong enough to support the weight of the plastic/resin you place on them. It is important that you are able to adjust the position of the magnetised limb/arm and that it does not change position by itself.
Use a sharp modelling knife to mark the centre of where you want to place the magnet and turn the knife many times to make a small guide hole.
Simply drill the figure and pour some glue into the drilled hole and then insert the magnet. Before gluing, make sure that you have placed the magnet in the correct direction outwards so that both magnets are attracted to each other.
The ideal magnetisation is when you cannot see at first glance that the model has been magnetised. Therefore try to drill the magnetised parts and use the correct thickness.
Very thin and wider magnets can be used to join limbs and parts that do not move (for example, a hand connected to a bolt or a sword). An example is the 4mmx1mm used on Space Marines hand. It is good to paint the magnet in the same colour as the one used on the figure.
It is best to use Super Glue for bonding the magnets. To speed up the drying process you can use Army Painter super glue activator.
To magnetise banners and heavier items in the infantry you can use a 2x2mm magnet.
Magnets often have very shiny smooth surfaces and it is difficult to paint on them. After placing and pasting the magnet in the hole you can apply a layer of glue on the visible part of the magnet and wait until it dries. Then paint the visible part to your chosen colour.
Our brands


